
These are super easy and take barely any time to make, they
also look great in all hair, and that's always a bonus! Sewing is optional
which is great if you're as lazy as me. Anywayz sorry for the waffling, here's
what you will need.
·
Fabric (obviously)
·
Hair grips/bobby pins
·
Fabric glue or a needle and thread
·
Scissors
Step 1
Choose your fabric, here I am using some fat quarters, which
is basically a quarter yard of fabric used normally to quilt with.

Step 2
Cut some fabric that it is slightly larger than double the
size of your desired bow.

Step 3
Cut a strip from the side of the fabric you have just cut,
sorry for the bad explanation here is a picture to hopefully stop your
confusion.

Step 4
Fold the larger bit of fabric in half, if you squeeze gently
in the middle of the folded fabric you will see the shape of your bow. For a
neater end product you can turn the fabric inside out and sew/glue along two of
the edges and then along the last one later.
Your fold should look like this..

or this if you have chosen to sew/glue the edges....

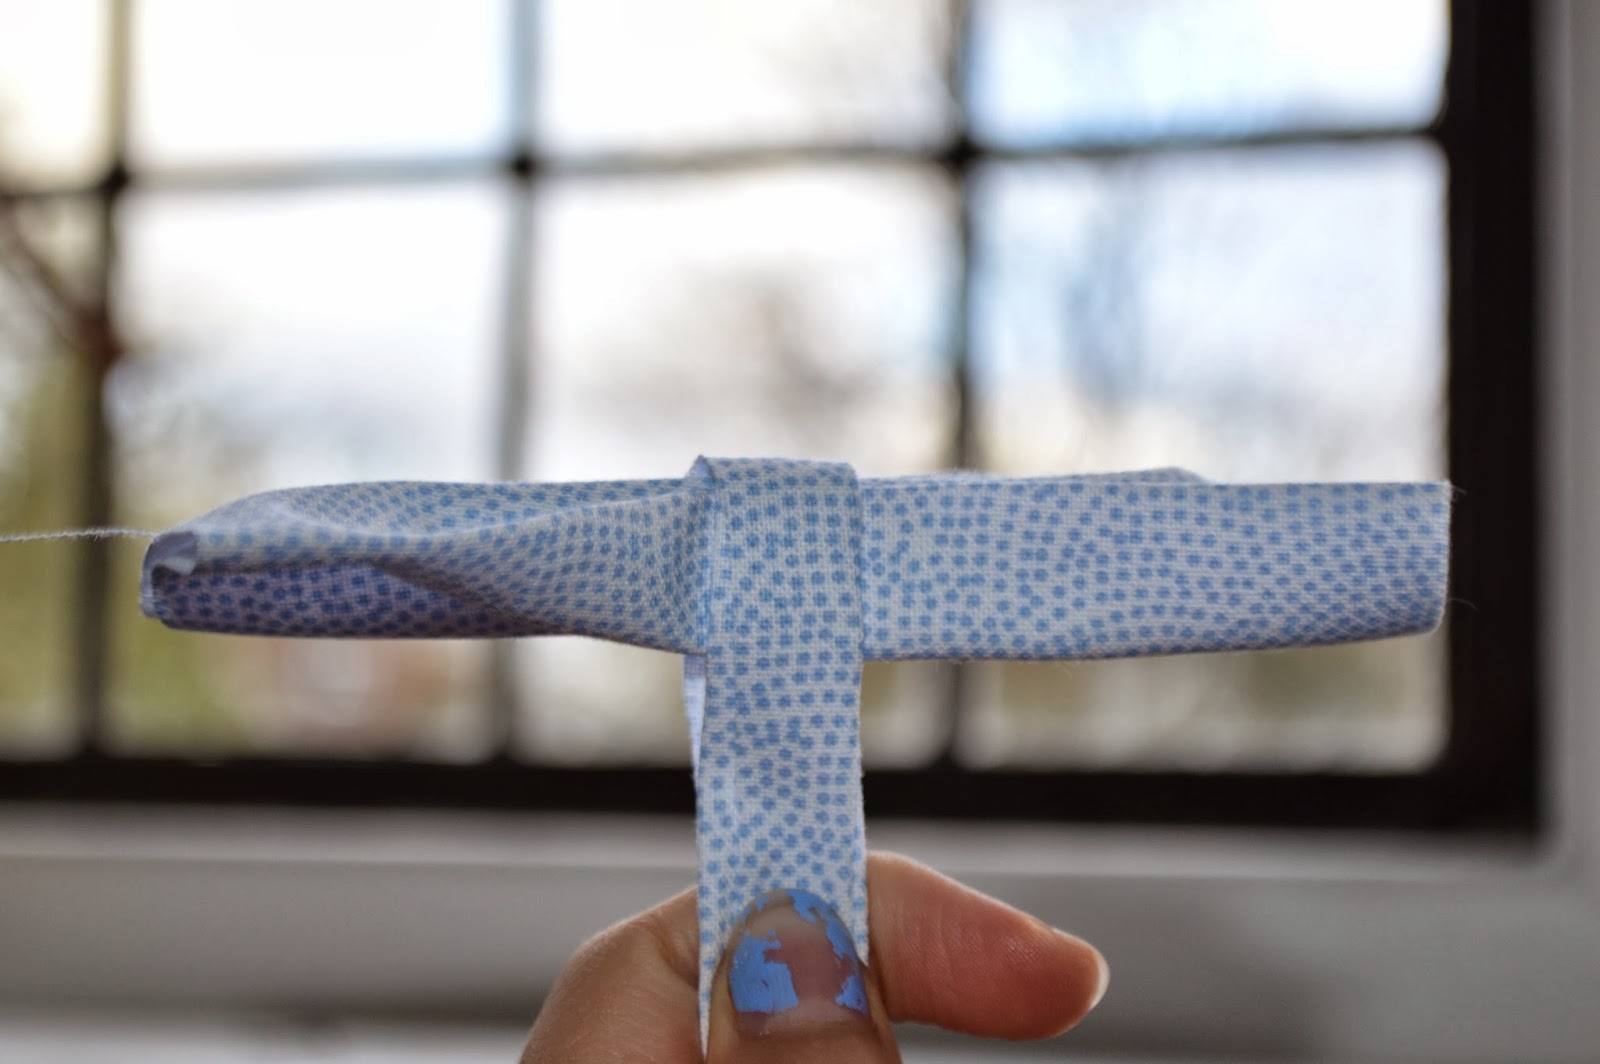
Step 5
Take the slim strip of fabric you cut at the beginning and
fold it so you can't see the edges. Next wrap it around the bow like so...


(Sorry for my awful nails)
Step 6
Sew/ glue the strip of fabric round the back of the bow and
then cut of the excess


Step 7
Slide a Hair grip into the back of the fabric ring you have
just made and put the bow in your hair (if you want) Now you are done :)!!

I hope you have fun making a bow :)
Thank you for reading xx
Zoë xx
.JPG)


.JPG)
.JPG)
.JPG)
.JPG)
.JPG)
.JPG)
